Build Your Own Audiophile Amp: A Beginner’s Guide to the Bottlehead Crack
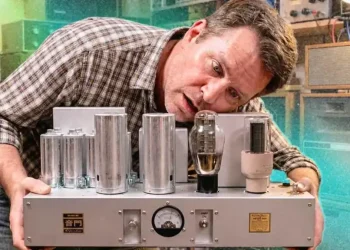
Embarking on the journey of building your own high-quality headphone amplifier can be both rewarding and enlightening. The Bottlehead Crack, a renowned DIY tube-based headphone amplifier kit, offers enthusiasts an accessible entry into the world of custom audio equipment. This guide aims to provide an engaging overview of the Bottlehead Crack, its assembly process, and the unique auditory experience it delivers.
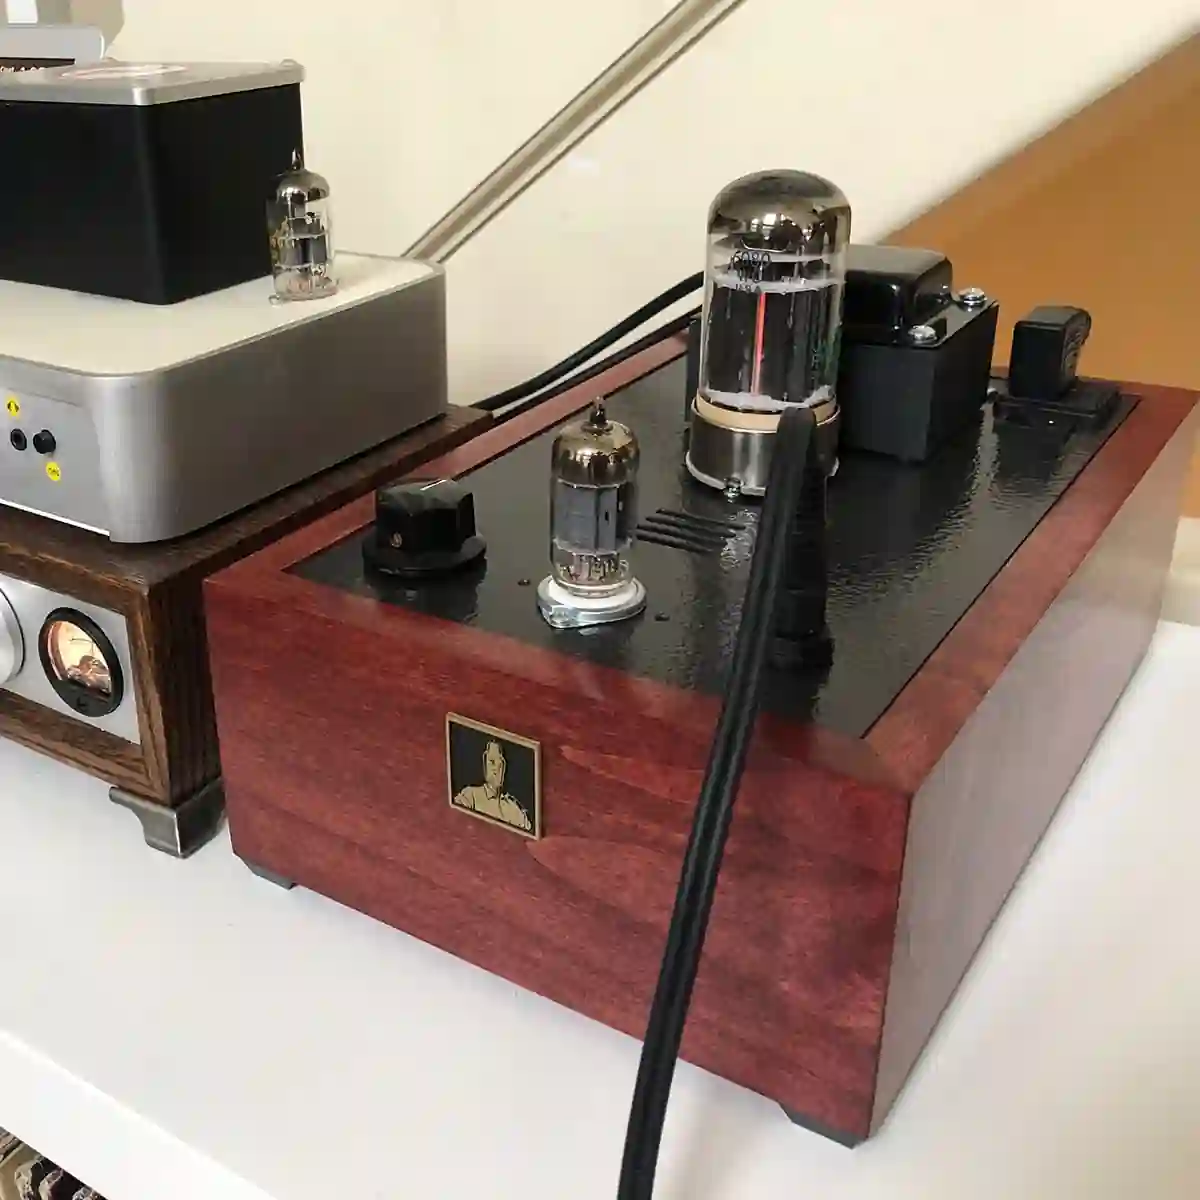
Launched in 2010 by the Bottlehead Corporation, the Crack amplifier has garnered acclaim for its exceptional performance and approachable assembly process. Designed specifically for high-impedance headphones, such as models from Sennheiser, AKG, and Beyerdynamic, the Crack utilizes an output transformerless (OTL) design to deliver a rich and immersive sound experience.
- Affordability and Quality: The Crack offers audiophile-grade sound without breaking the bank, making it an attractive option for both newcomers and seasoned enthusiasts.
- Educational Experience: Assembling the kit provides invaluable hands-on experience, deepening your understanding of audio electronics and tube amplifier design.
- Community Support: Bottlehead’s active forums and comprehensive manuals ensure that builders have access to guidance and troubleshooting assistance throughout the assembly process.
Building the Bottlehead Crack is a straightforward endeavor, typically requiring between 5 to 10 hours to complete, depending on your familiarity with soldering and electronics. The kit includes all necessary components, and the instruction manual provides step-by-step guidance, complete with detailed illustrations. This meticulous documentation ensures that even those new to DIY electronics can confidently undertake the project.

Key Steps in the Assembly:
- Organizing Components: Begin by laying out all parts to familiarize yourself with the components and ensure nothing is missing.
- Chassis Preparation: Assemble and prepare the chassis, which serves as the foundation for mounting all components.
- Soldering: Carefully solder resistors, capacitors, and other elements onto the circuit board, following the manual’s instructions meticulously.
- Wiring: Connect the various sections of the amplifier, paying close attention to the wiring diagrams to ensure correct signal flow.
- Testing: After assembly, conduct thorough testing to verify that the amplifier functions correctly and safely before connecting your headphones.
For those seeking to elevate the performance of their Bottlehead Crack, the Speedball upgrade is a popular modification. This addition introduces a constant current source to the amplifier, resulting in improved clarity, reduced background noise, and enhanced overall dynamics. Many users report a noticeable enhancement in sound quality, making it a worthwhile consideration post-assembly.
Once assembled, the Bottlehead Crack delivers a warm, rich, and detailed sound signature that pairs exceptionally well with high-impedance headphones. Users often describe the listening experience as immersive, with a notable improvement in tonal depth and soundstage. This amplifier has the potential to breathe new life into your favorite recordings, offering a level of engagement that is both personal and profound.
Building the Bottlehead Crack headphone amplifier is more than just a DIY project; it’s an exploration into the art of sound and electronics. The process not only results in a high-quality amplifier tailored to your personal preferences but also provides a deep sense of accomplishment and a closer connection to the music you love. Whether you’re an audiophile seeking to enhance your listening experience or a hobbyist eager to delve into the world of DIY audio, the Bottlehead Crack offers a fulfilling and sonically rewarding journey.
This article was rewritten by JournosNews.com based on verified reporting from trusted sources. The content has been independently reviewed, fact-checked, and edited for accuracy, neutrality, tone, and global readability in accordance with Google News and AdSense standards.
All opinions, quotes, or statements from contributors, experts, or sourced organizations do not necessarily reflect the views of JournosNews.com. JournosNews.com maintains full editorial independence from any external funders, sponsors, or organizations.
Stay informed with JournosNews.com — your trusted source for verified global reporting and in-depth analysis. Follow us on Google News, BlueSky, and X for real-time updates.